Contour HD 1080p

I ordered a small camera to mount on my longboard (since my last test proved awesome for keytarring but not for filming skateboards). That camera was ordered some weeks ago and have still not arrived (guess I’ll have to talk to paypal about that). So I went out and bought a Contour HD 1080.

The camera is cheaper then the GoPro but has fisheye and about the same specs. I really liked the connectors and the 720p in 60fps option. I’m falling in love with HD-movie, dont know how that happened. A few reviews I’ve read holds the Contour as the better camera, and a few the GoPro. The Contour was available when I had the itch so I got that.

The program that comes with … well, it’s not good. Let’s just leave it at that. It’s way WAY more limited then iMovie. huhuuhhh. Thankfully you get the camera as a removable drive so it’s up to you to use whatever program you like.

There comes two connectors with, one to tape stuck on to something, and one to put on your ski-glasses. I tried both on the longboard. At first both acted a bit flimsy, and liked to drop the camera. Really not ok. So even after drilling holes and securing the base the camera was dropped of. It’s a special feeling dragging a brand new camera on the concrete after your longboard. And what ever I tried it did not help, it still fell off. Enter overkill. So I stuck it on there really really hard. That resulted in really shaky videos and that the memory-card lost connection with the camera and then spazzing out and stop recording.

My solution to this was to go get some real super grade Velcro. I mean the new kind where there is only one type of connector. It worked great, the shakes are tolerable and the camera very seldom falls off.

What would a camera review be without some sort of video? lame!
Diy plant press

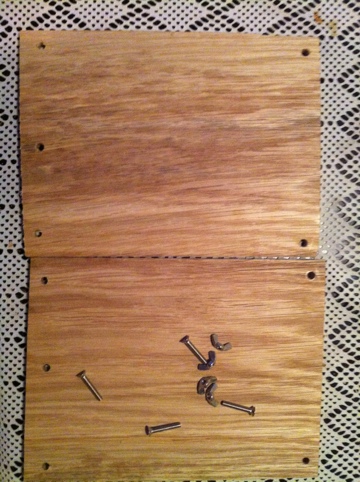
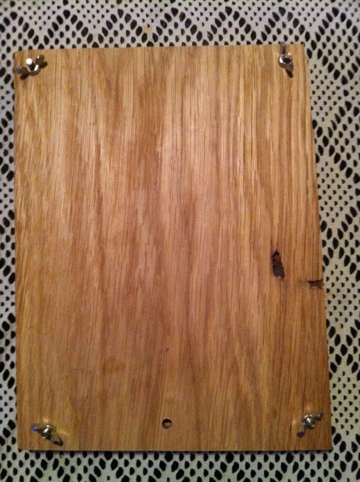
My mother recently retired from her teaching job and while this is a good thing she misses the plant press she had acces to there. On another side I’ve recently bought a really really big plane cutter and I wanted to use it for more then planing wood for the longboards so me and the kids decided to make a plant press.

Having only seen these as a kid remaking them from memory might have been a bad idea, but it was not. I decided we should go for the simplest solution, pretty oak and wingnut.

First we planed the wood, you could probably use plywood, but that does not look as nice.

Then all we had to do was to drill some holes and test it.
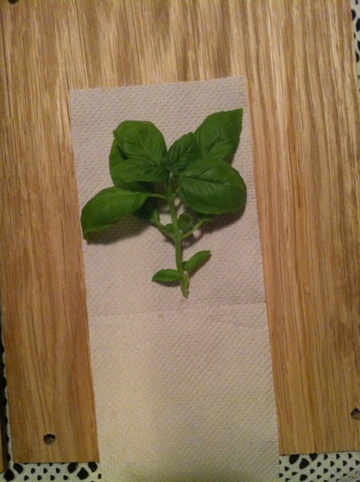
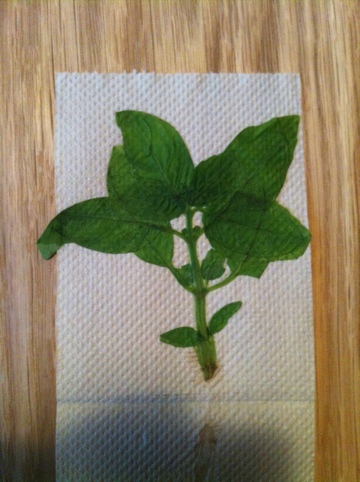
Here are some images of us trying it out on basilica.

20110909-053742.jpg

Here it is in it’s closed state, note the small whole in the middle, it’s so you shall be able to hang it on the wall, not a mistake. defensively not a mistake.


20110909-053804.jpg

Opened


20110909-053820.jpg

Ready for the press


20110909-053838.jpg

This is how the basilica looks 2 days later.

20 SEK camera mount

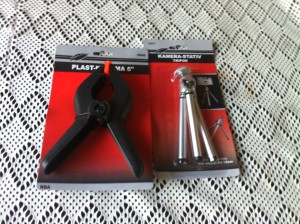
I’ve been really awe’d by the GoPro Camera videos you can find out on the internet. That and the contraptions ppl use to put cameras on their guitars for music videos. So when I found these two items:

Both 10 SEK each, amounting to a total of … 20 SEK.

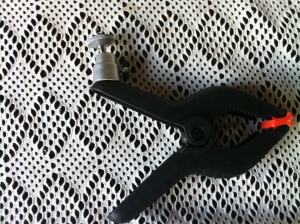
After removing the legs and adding a new screw and bold (I had this before so I wont add it to the spreadsheet) it looks something like this:

Not bad for 3 minutes of work, not bad at all. There even was a hole ready so I did not have to drill one.

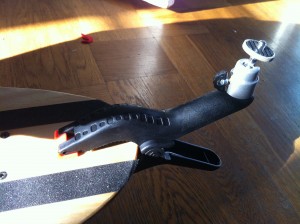
So where to put it?

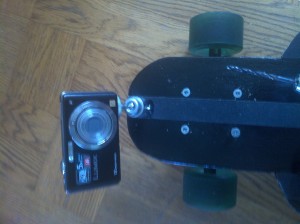
On a a longboard ofcourse, I’m a bit focused on those right now. This here is Lukas’s longboard so we went out and tried it out for a bit. the camera was to heavy and the mount to flimsy. No software could unshake that shakyness, so I mounted it directly on a board, like this:

The resulting video was still to shaky to be useful, but if I use it with the original grip and put it on a keytar, this is the sort of awesomeness that follows:

Sorry about the repetition of information, but you know you guy’s that read here get to know LOADS more!

Teknikmagasinet’s “Talawa” longboard. A review.

A few weeks back I bought two longboards from teknikmagasinet. These longboards are hyped asa “new classic” and being great a great all round longboard.

As per usual I did not really buy in to the market-speak but bought them solely to use the cheap truck and wheels on the longboards I make for my kids. Since Tova already have “big wheels” on her I put them on Lukas longboard. Before I did that though, I took it for a ride, these are my conclusions.

When searching for Talawa longboard on the internets you only get references to Teknikmagasinet, no product page.

1: There is no flex in the board, not at all. It could have been made from metal instead. No affordance at all for anything but super smooth asphalt.

2: The trucks are mounted on big ass riserpads, these and the shape makes the trucks work like ploughs. no affordance for gravel or twigs where you ride. I have no clue why you would design your board like that.

3: The wheels that had been facing the window in the store where miscoloured. to much exposure to sunlight I guess, the felt about the same though so I guess it’s just cosmetical.

4: I tried to turn, but failed. The bushings are hard, like superhard. I wigh 86kg and I was unable to make the board tilt more then a few degrees. This is the opposite of my usual problem. Releasing the bushings does not help much. They where very hard anyways. Needless to say, Lukas had to have new bushings (he’s really lightweight, as a 6-year old should be)

Apparently these are the trucks and wheels:

Wheels: Ape Venom PU 65×51 mm/85A
Bearings: ABEC-7 Carbon
Trucks: Seagull 6″ (15 cm)

Hope you have better luck in finding information on these on the internet.

In conclusion, if you want cheap trucks and wheels, you can get this. Expect to have to grease up the bearings, and change the bushings. Just dont expect to be able to ride the thing from the store to your home.

Craft robo by graphtec Silhouette or whatever.

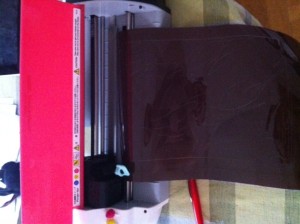
A few days a go I bought a litte machine that cuts things. What’s special about this one is that it’s sort of like a breed between a CNC machine and a printer. It’s nice. A computer controlled knife.

My main thought was to use it to cut stencils for t-shirt prints and the such and just ignore the ready made materials the same company produces, more on this later.

The machine I got is pink. That’s nice. I think they are trying to dominate the whole scrap booking community. I’m not a scrapbooker, far from it.

There are a few setbacks thogh. 1 you need to change “caps” on the knife to set a maximum depth. 1,2 and 3mm are the ones you can choose. In the printing program it tells you what cap to put on. I often forget this. You also need to have most materials on a piece of mildly adhesive plastic sheet called “carrier sheet”. The carrier sheet helps out in the way that the cut out parts stick in place. But it get’s cut through and the glue dries away etc, so you need to exchange it.

The materials that the same company produces are real great though. I bought black vinyl and white vinyl and brown heat transfer for fabric (t-shirt’s).

So If you do something like this

1: Google some nice black and white images of the comic book heroine Vampirella

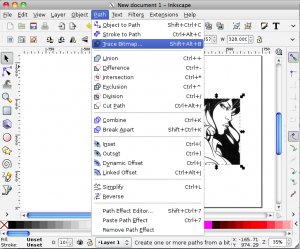
2: Get it into Inkscape and convert it to a path.

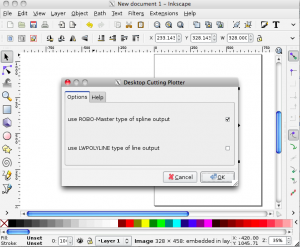
3: Export it to dxf that the machines accompanying program can read, thank you Inkscape for providing this.

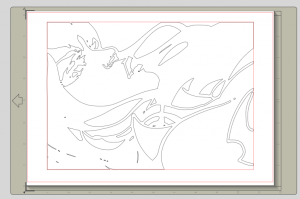
4: Open it into the program, which is really good, to open inkscape files in and set the printer up. If you are able to do something cool in this program I salute you!

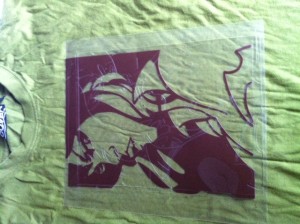
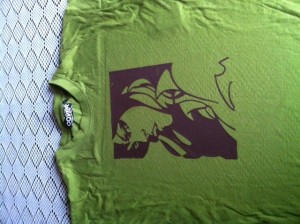
5: Print, remove the part’s that should not be there and iron on to your t-shirt.

Pretty Nice result’s.

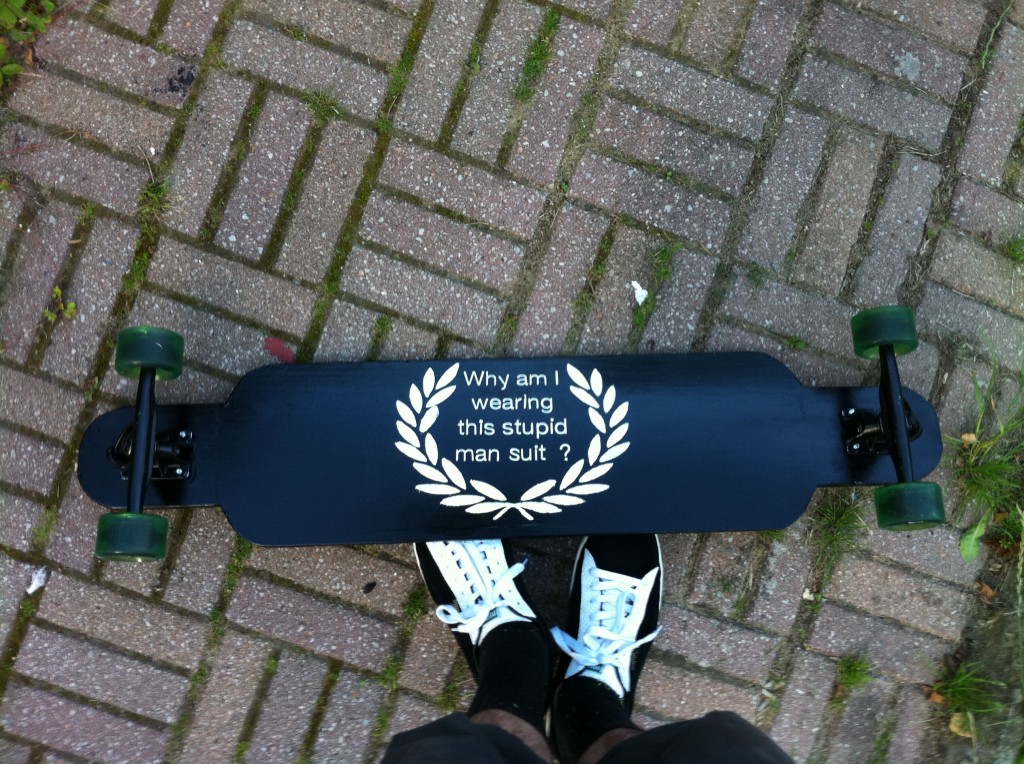
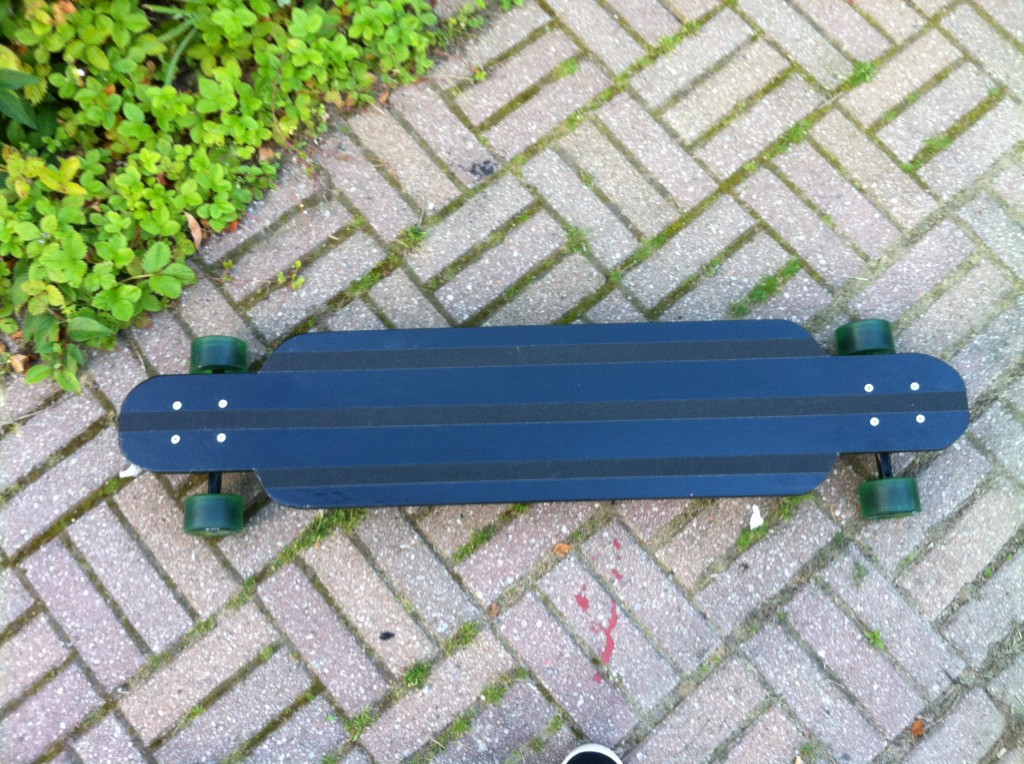
I’ve used this machine on the Longboard from last post both with Vinyl and as cutout for the stencil.

Am I happy with this machine for 1890:- SEK? I am indeed!

Now it’s golden

I’ve have had vacation. 4 weeks of doing stuff.  Both bloggable and unbloggable things. Anyways, what I’m trying to say is, sorry for the lack of post’s lately. This one is going to be a short one aswell, but it will be an intro to a much longer one.

You see, I’ve been taking an interest in longboarding. I’ve have built about ten different boards these last two/three months. I’ve built two skateboard presses, the first one was outside while I was away and the rain destroyed it. preassure and moisture on wood is not a winning combination.

Later there will be post’s with images of the different boards, a few of them for my kids, a few for myself. And some just for the lulz.

Today I’m gonna show you the first one I pressed in my new press. And only the result. Not a how to.


Stupid skateboard

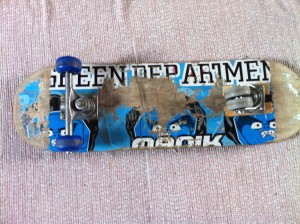
Me and Lukas remade a 5:- skateboard we found at a yard sale.

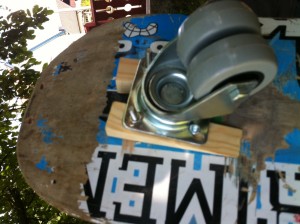
it features a shopping cart wheel in the front, the stylish wooden parts are to “force” the wheel to always face forward. We had some minor accidents while prototyping and the wheel could go in any direction.

We’re gonna try it in a nice sloped concrete setting, because riding it indoors or out on the road we have by the house is impossible.

Built another skateboard.

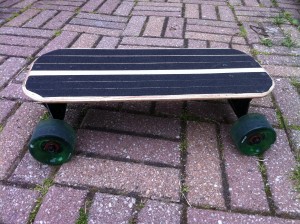
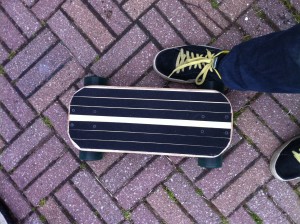
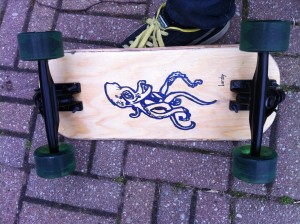
This time it’s a mini-longboard. or a mini-cruiser.

I’ve got european size 45 shoes, big feet, small longboard.

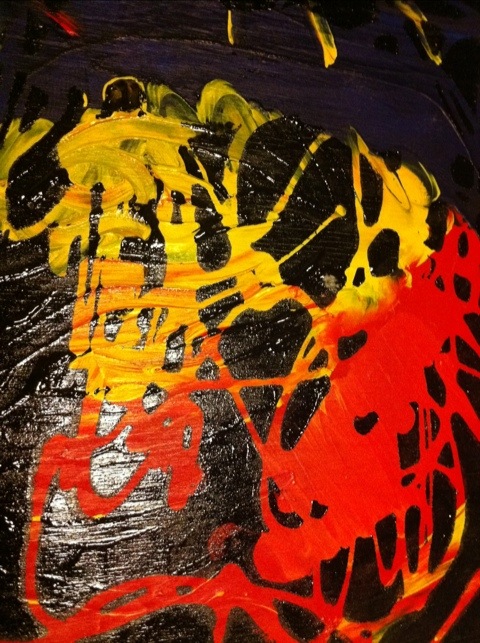
And an octopus as motive. I like tentacles.

It was real hard to skate on at first, since the other skateboards I’ve used are so much longer and wider. The “danger” zones on those big ones are all that is left for this little one.

it’s roughly 45 by 17cm. There are 9 layers of birch(i think).
The wheels are low to midrange in price, as are the rest of the hardware, still, the wheel’s turn as they should it responds real quick.

Gonna make a video as soon as I’ve practiced some more on my biggest trick: “not falling on my head or looking like a total ass”